How to Make Your Own Lightroom Presets
How to Make Your Own Lightroom Preset
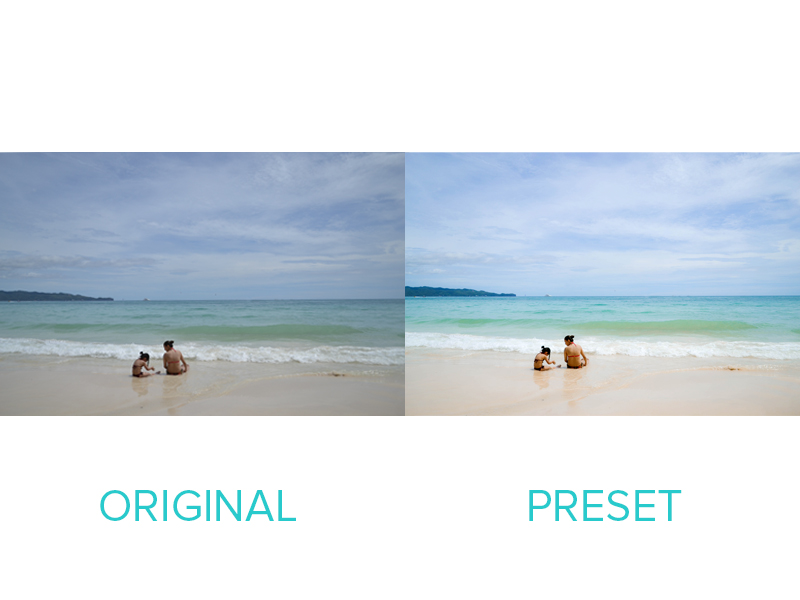
Creating presets in Lightroom is so easy! It takes just a few steps to create your own custom preset. The first step is to enter the Develop module by clicking on Develop at top right.

Make Changes and Adjustments
Next, use the settings on the panel on the right to apply some settings to an image. You can adjust the exposure, adjust curves and black levels, and even adjust the white balance by adjusting the color temperature. Additional options, We can correct the perspective and distortion in lens corrections panel.
The Develop module contains two sets of panels and a toolbar for viewing and editing a photo. On the left are the Navigator, Presets, Snapshots, History, and Collections panels for previewing, saving, and selecting changes you’ve made to a photo. On the right are the tools and panels for making global and local adjustments to a photo.
Save Your Preset
On the left side, you'll see the panel that features presets. To create a new preset, all that you need to do is press the "+" button or go to Develop and click New Preset. Now, a new window appears that allows us to customize the settings to include in the preset. Each portion of the effects we applied can be either checked or unchecked to include within the preset.

After choosing what parts of the edit that you want to include on the edit, make sure to give it a name and then press "Create". It is Finished! You have just created a Lightroom Preset.

The preset is added to the list in the Presets panel in the specified folder.


Comments
Post a Comment