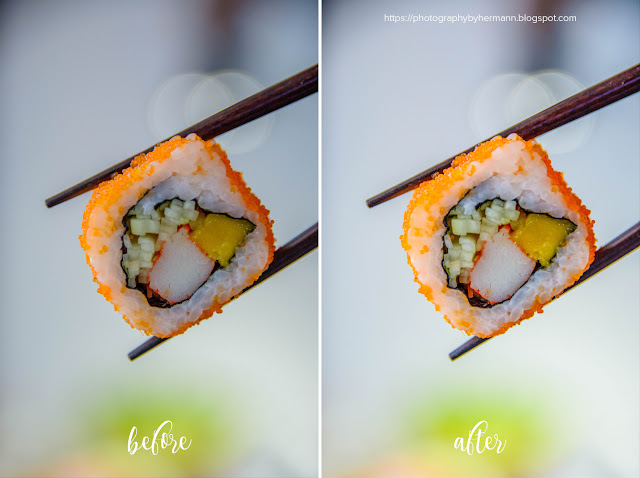
Lightroom presets editing process
I think we have the same problem, we used to spend hours to edit a photo in classic photo editing software, the photoshop.
For most food photographers, Adobe Lightroom is the post-processing software of choice. Even for beginners.
Lightroom is excellent as a global editor. Its strength lies in its ability to make adjustments globally to the whole image in a way that is simple and easy-to-use. Post-processing for food photography is primarily about bringing out colour, contrast, and tweaking certain elements like highlights and shadows.
Lightroom provides all of this.
I spent hours learning Lightroom and eventually made my own presets which worked for food, and gave each shot a natural look that I love.
So what exactly are Lightroom presets?
Lightroom presets work in a similar way to how you use a filter in Instagram to change the look of a photo you’ve snapped on your phone before uploading. They work by applying edits to every aspect of detail of an image required to create a specific look.
Really easy! Once you have installed them, all you need to do is to click on the preset you wish to use in the Develop module within Lightroom, which will apply the settings to your chosen image.
From here, you can further tweak it to get the look exactly as you want. This process makes editing extremely quick and easy, and takes a lot of the frustration out of it if you are new to Lightroom and struggling to get the look you want.
To see exactly how easy it is, check out the video below to see how I use presets in my own post processing to get a really moody look for my images.
How to get the most out of Lightroom presets
Always shoot in RAW. This means that the details in the image will be stored in the image file separately, so that when you apply the preset, it will alter each individual detail (eg tones, hues, light) separately.
While some presets will give you the exact look you want for some photos, for others, you may need to tweak slightly. Play with the sliders in the basics panel, or try applying a local adjustment like in the video above to tweak certain areas of the image.


Comments
Post a Comment